Does the thought of cleaning your pet’s ears cause trepidation? Do not worry! Straightforward methods are available for cleaning your furry friend’s ears without the fuss. Keeping your pet’s ears clean is essential for their overall health and well-being. By following our Oliver Animal Hospital team’s steps, you can make ear cleaning a stress-free—and even enjoyable—process for your four-legged friend.
Step 1. Gather your pet ear cleaning supplies
Before you start, ensure you have all the necessary supplies at hand to complete the task successfully. These supplies include:
- Ear cleaning solution — Use our veterinarian-recommended or pet-specific ear cleaner. Never use rubbing alcohol or peroxide, as these chemicals are too harsh for pets’ delicate ears.
- Cotton balls or gauze — Cotton balls are the best tool for cleaning debris from your pet’s ears. Avoid using cotton swabs, as they can push debris further into the ear canal.
- Towels — Towels can protect your clothes and be used to wipe up the floor after you apply the ear-cleaning solution. In addition, using a towel can help you hold your pet while you clean their ears.
- Treats — Give your pet treats as positive reinforcement to reward and comfort them.
Step 2. Choose the place to clean your pet’s ears
Select a quiet, comfortable location where your pet feels safe and cozy. Clean your pet’s ears when they are calm and relaxed such as after a meal, playtime, or a long walk. Additionally, ensure the area is a low-traffic zone to keep distractions to a minimum.
Step 3. Make your pet comfortable
Before starting, spend a few minutes petting and talking to your four-legged friend to help them relax. If your pet is particularly anxious, consider doing a trial run where you handle their ears without cleaning them, giving treats and praise for remaining calm and cooperative.
Step 4. Examine your pet’s ears
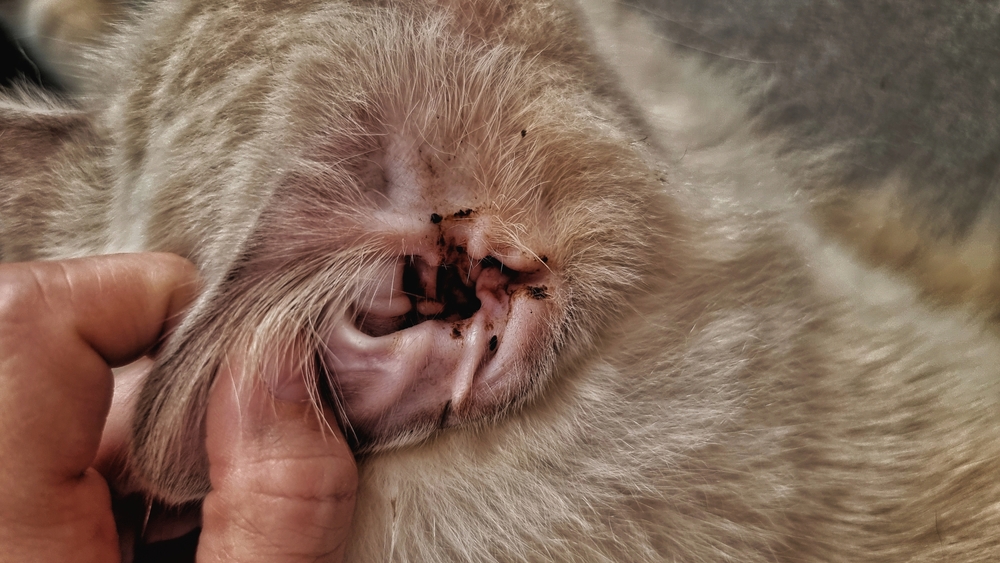
Gently lift your pet’s ear flap and look inside. Healthy ears should be pink, odorless, and debris-free. If you notice any redness, swelling, foul odor, or discharge, consult the south Austin veterinary team at Oliver Animal Hospital before cleaning.
Step 5. Apply the pet ear-cleaning solution
Hold the ear flap upright and carefully apply the ear cleaning solution into the ear canal. Follow the instructions on the product label for the correct amount. Avoid touching the bottle’s tip to your pet’s ear to prevent contamination or a potential inner ear injury.
Step 6. Massage your pet’s ear
Gently massage the ear base for about 20 to 30 seconds. This process helps the cleaning solution break down wax and debris inside the ear canal. Your pet may find this part of the task soothing.
Step 7. Let your pet shake their head
Allow your furry pal to shake their head immediately following the ear massage. Massaging the ear helps to dislodge debris and excess solution from the ear canal. Be prepared for some splashing, and use the towel to wipe away the mess.
Step 8. Wipe your pet’s ear to remove debris
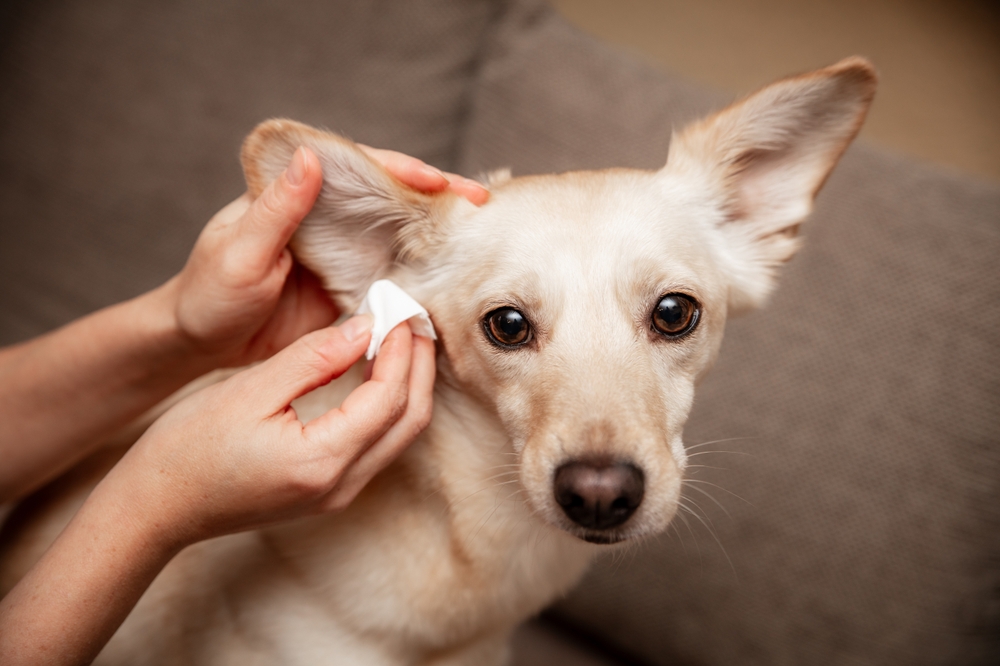
Use a cotton ball or gauze to remove debris and cleaning solution from the ear flap and outer ear canal. Be gentle and avoid inserting anything deep into the ear canal.
Step 9. Reward your pet
Immediately reward your pet with treats and praise to create a positive association with ear cleaning. Positive reinforcement will help reduce anxiety for future cleanings.
Step 10. Repeat your pet’s ear cleaning if necessary
If your pet’s ears are extremely dirty, repeat these steps. Ear cleaning frequency can vary depending on your pet’s needs. Some pets may need weekly cleanings, while others may only need monthly cleanings. Consult our team for a recommended schedule.
Additional tips for a stress-free experience for your pet

Some pets are more reluctant than others during grooming tasks such as toothbrushing and ear cleaning. Ensure you keep the ear-cleaning session as stress-free and relaxing as possible. Consider the following tips:
- Stay calm — Your pet can sense your emotions, so stay calm and composed throughout the process.
- Short sessions — If your pet is particularly anxious, break the cleaning process into shorter sessions over a few days.
- Positive reinforcement — Use treats, praise, and affection to reward good behavior.
- Practice makes perfect — Regular, gentle handling of your pet’s ears can help them become accustomed to the ear-cleaning process.
By following these steps and maintaining a positive attitude, you can ensure that ear cleaning becomes a routine part of your furry friend’s care without stress. Remember, regular ear cleaning keeps your pet comfortable and helps prevent ear infections and other health issues. For an ear-cleaning demonstration, schedule an appointment with our south Austin veterinary team at Oliver Animal Hospital. We’re all ears to hear about your pet.


Leave A Comment